
I noticed recently that the brake pedal would get soft and sink towards the floor at extended stop lights. That’s usually a sign of a bad master cylinder. I had the shop look for other signs of a leak: rusted brake line, leaking caliper. But there were no other visible issues so a new master cylinder went to the top of the shopping list.
The OE BMW part is over $170 and there’s a rebuild kit for $100. I’ve never tried to rebuild one but it might be the best option. Rock Auto had a big selection of aftermarket replacements and I chose the Centric brand because I’ve had good luck with their caliper rebuild kits.
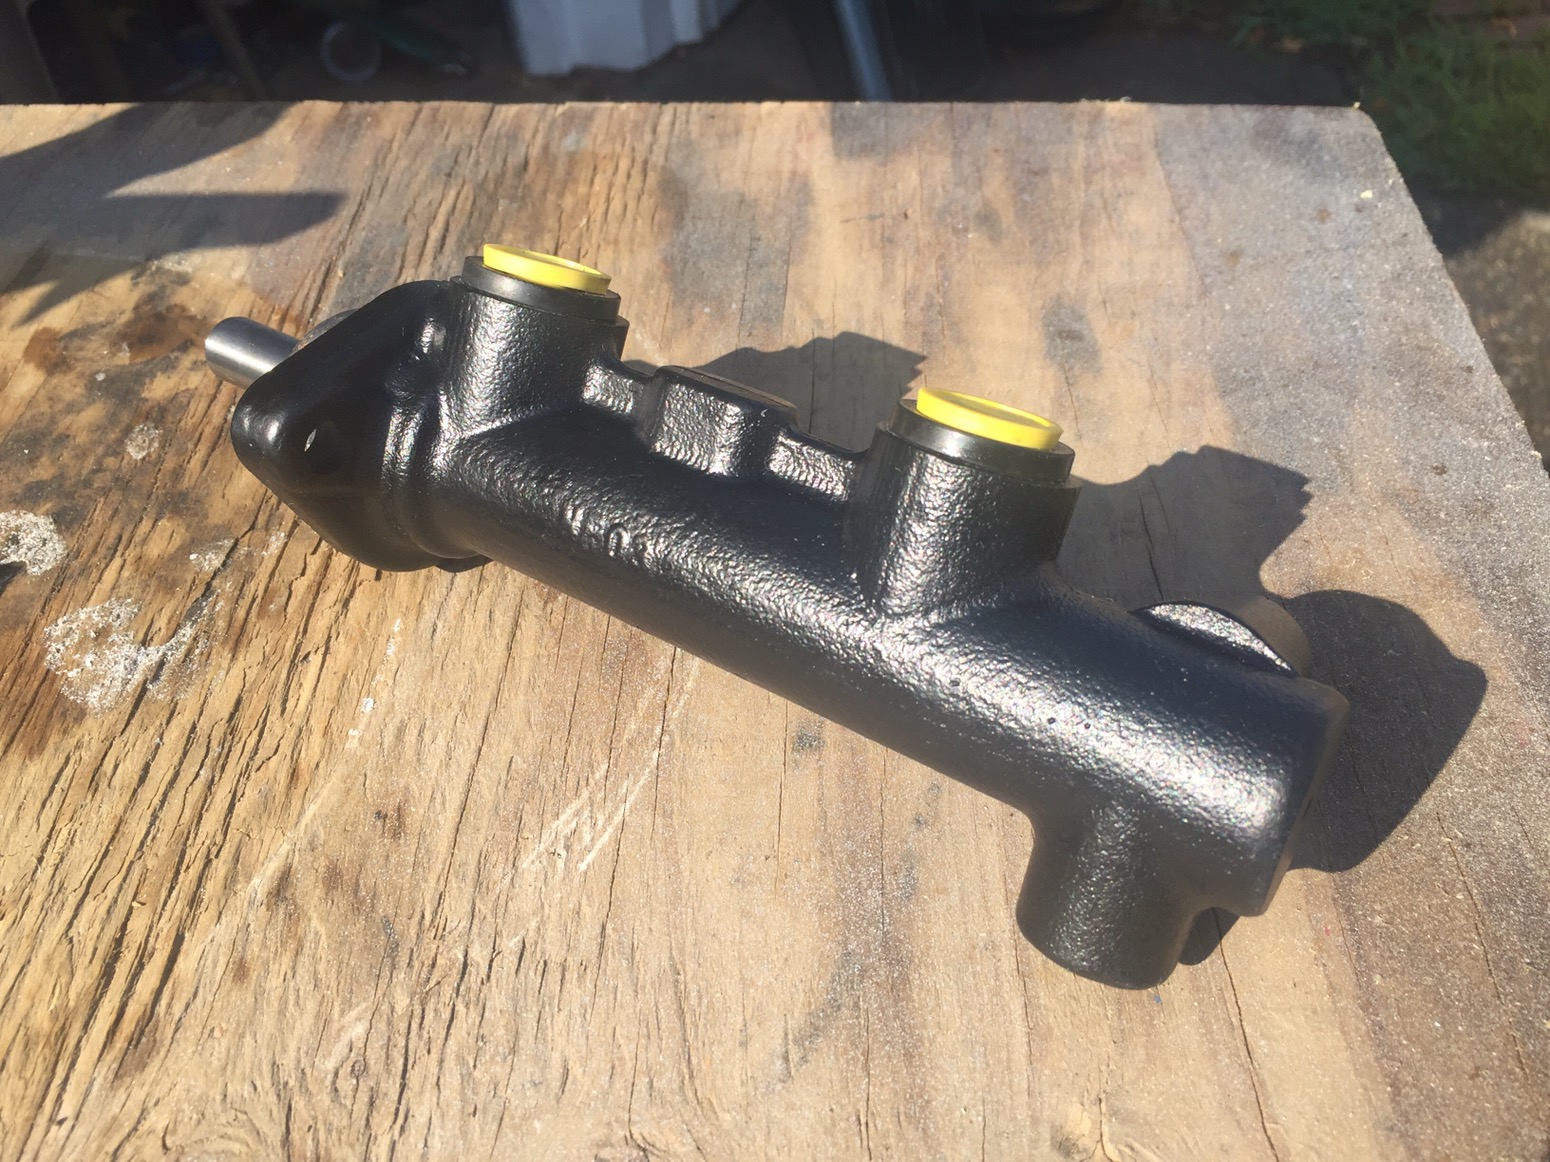
Rock Auto has fast processing and shipping. Also from previous experience I knew that these aftermarket brands come with a weak anti-rust coating. The last thing I want on my car is cheap looking, rusty junk visible to everyone. I gave it a good scrub with KBS Klean and RustBlast and then primed and painted with ordinary Rustoleum. It came out great!
Removal was easy but messy. Even with emptying the reservoir with a turkey baster and draining it through the bottom drain screw there was still a big mess.
The hard lines came off easily with a 11mm box wrench. It helps to remove things in the vicinity like the intake boot and disconnect the battery (I’ll tell you why later). The reservoir popped off with some prying with a screwdriver. But be careful there because it’s probably old brittle plastic. Removing the master from the booster is just two 13mm nuts. But I had to use a combination of wrenches and sockets to get them off. Then it just slides off the shaft in the booster. There’s a nifty reinforcement bracket on the front of the master cylinder that keeps it from thrusting forward and that popped off rather suddenly. A sign of trouble to come.
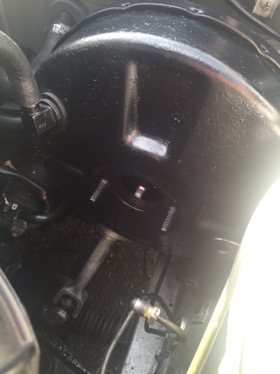
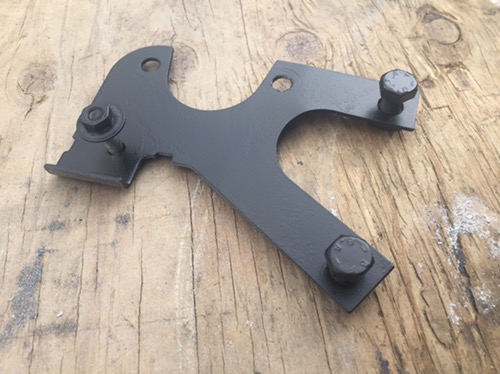
With the booster exposed I took the time to clean the face with a wet Scotch-Brite pad. Then I covered everything around it and hit the booster with some black Rustoleum. I also treated and painted the support bracket. It’s not a proper restoration but I wasn’t about to remove the booster right now. The fluid reservoir also got a good cleaning inside and out. There’s a good lesson in this: do your research and prepare to remove related parts to give them a proper cleaning and/or reconditioning. It’s worth it in the long run.
With everything looking clean and original I started the reassembly. The master sits on the studs. Then the reinforcement fits over the studs and goes down to the bracket on the fender. Here is where I lost a lot of time. The reinforcement holes are not drilled quite the same as the holes where it mounts to the body. They’re too close together so after 30 minutes of struggling I pried down with a screwdriver and got the lower bolt started, then did the upper bolt. This looks like an aftermarket piece and the fitment is very un-BMW like. By the way, I scratched up my freshly painted bracket (grrrr).
With the master cylinder solidly mounted I attached the hard lines and pressed the reservoir on. Watch out for the plastic line running to the clutch master cylinder – if it pops free it’s a real bitch to get back in.
Here’s why the battery should be disconnected: while tightening the mounting nuts I dropped the wrench, which then fell on the starter with all 14v humming through it. The steel wrench met the steel master cylinder with a shower of sparks for a second until it fell to the ground.
Anyway, with everything reassembled and the reservoir topped off with fluid, I tried the brake pedal. It went straight to the floor. The clutch felt ok though. I’m not naive – I knew I would have to bleed the brakes afterward. Except I had read online that someone did it without bleeding. I’m calling BS on that one…

Leave a comment