
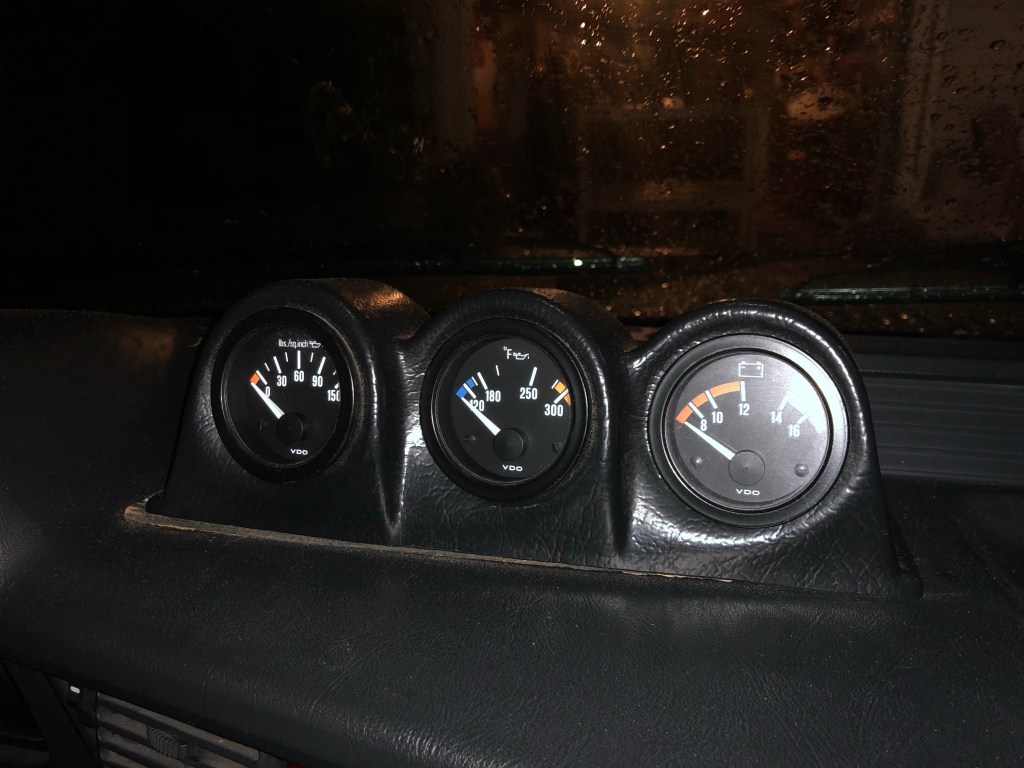
My car came with an old-school gauge package with three VDO gauges in a plastic housing: oil pressure, oil temperature, and battery voltage. I refer to them a lot while driving and believe their data is hugely valuable. Until they’re passing incorrect values.
During a short drive the oil pressure gauge pegged off the scale. The temperature gauge was normal at first but then temps were hovering over 260F. It’s never gone over 220F and normal temp is under 200. Coolant temp was normal. I was close to home but had a huge pit in my stomach as I thought about what could be wrong with the oil pump or circulation. High pressure may be better than low, at least. But I dreaded removing the oil pan to inspect the bottom end.

Dropping the oil pan is a last resort so I had a few other things to try first: check the connections on the VDO sending unit, remove the oil filter to check for metal or a blockage, install new gauges, and inspect the wiring. In hindsight I should have done those in reverse order (no cost checks first). I did each of these things without a smoking gun until I took a closer look at the wiring.
Sure enough the data wire for the oil temp gauge was frayed down to a couple of copper strands. One other wire was completely disconnected, but it’s for the backlighting. Later, I also found the wiring from the sender unit frayed and probably contacting the engine block. This should be a straightforward wiring project and I might actually enjoy it. The crimp connectors and inconsistent wire colors trigger my OCD. I should be able to pull the whole kit out of the car and rebuild it on my workbench (or couch).

A quick note about the voltage gauge. While diagnosing my low voltage issue (bad ground) I had probed the voltage gauge to check its accuracy. I accidentally bridged the positive and ground connectors with the multimeter probe and I think I shorted out the gauge. It went to the max reading even though voltage should have been 12-14. Lesson learned: these gauges are sensitive and use extra care handling them.
Rainbow Coalition of Wires

This gauge kit had a simple 9-pin connector just past the gauges and hanging in the dash. But I had to pull the radio and then fish around in the dash to get to it. Tracing all the wires back to their source revealed the ground went all the way to the front of the engine and the three power wires were literally twisted to terminals in the fuse panel! I always wondered what those exposed wires were but was afraid to poke around. There should be a better way to do this.

Planning
Each gauge needs a 12v power supply and ground. And then repeat for each backlight bulb. Power should be switched on with the key and not constant so it doesn’t drain the battery. The previous owner had the power tied to fuses 12 (brake lights and radio) and 15 (hazard switch, horn, turn signals, and wipers). The voltage gauge was tied into fuse 8 (left headlight). I’ll stay away from the hazard switch wiring as it’s sensitive already. The radio seems like a good choice for switched 12v power.
I had hoped to find a screw under the dash to use as a ground. But all of the power in the car is in the fuse box and grounds are near that. I couldn’t find a single accessible ground point on the dash support bar. I ended up using a screw on the steering column under the hub.
I went with bullet connectors on the new harness. That way I can keep circuits independent and I won’t need to re-pin a connector. I can have five separate and bundled circuits (gauge power, gauge ground, light power, light ground, and data). It would be best if I could run long wires to a convenient center spot under the dash but I didn’t think that far ahead. I left my wires short. This posed a problem with available space under the gauge pod. I should have thought ahead more but got impatient. Consider this my Mulligan for this project.

I re-routed the sender wiring up and along the top of the engine instead of under the exhaust. That was not smart on my part but it did work for awhile. The VDO sender also has a low pressure circuit that connects into the factory light in the cluster (set to go off at 7 psi). I also bundled the cylinder ID cable with them and ran it all over the top of the cam belt cover and then down to the main engine harness bracket. This is much better than the front of the cover where some wires could rub on the water pump pulley. The crank position sensor wiring still runs in front of the cover but is secured away from the pulley with a zip tie and P-clip.
Power & Ground
I tapped the grey/purple wiring on the stereo for 12 volts with a standard press tap. This gives power to the gauges. In hindsight I would have tapped into the foglight switch wiring. I no longer have foglights and it’s switched 12v power (going into the switch). For the gauge lighting there was already a tap on the main light switch so the gauge lighting comes on with the dash lights and is dimmable. It never worked but I’d like to have that remedied now.
For a ground I went to a Phillips screw on the steering column. I hunted around on the dash bar for a bolt or a ground but came up blank. I can’t believe there isn’t a single ground there but none that I could spot. The steering column is iffy but it was already there. The wires are long enough that I can cut and relocate them later on if I find/create a new point. If I had to do it over I would have drilled into the dash bar.
Sender Blues
Hooking up the battery, fire up the engine, and still faulty gauges. The sender must be bad too. I’ve had a bad oil leak on the right side and maybe the sender is contaminated. Or I somehow busted it removing it.
I bought a oil pressure sender from an eBay seller. It was advertised as VDO but turned out to be a cheap copy. I also had to buy a thread adapter. When tightening the wiring the stud snapped on the end of the sender. I guess it’s my fault for snugging up a hollow stud too much. Since the studs are hollow and carry oil, this sender is now kaput too. I ordered a genuine VDO unit from Summit Racing.

New VDO sender installed, battery connected, engine running…. and success! Beautiful – and correct – readings on all three gauges.

Time for some driving!
Blowing Fuse 6
When I was reconfiguring the wiring in the dash I had the radio pulled out. There was a spaghetti of wires back there. During reassembly I must have snagged a live wire from somewhere and it was shorting out and causing fuse 6 to blow. Tracking it down was not easy but a beneficial experience. Click here to read more about it.

Leave a comment